3D Central
Freight Wagon
No brand new components in this project, I guess. It's a combination of old ideas put together with one twist.
While built up from several sub-modules, a wagon box, a wheel, an axle assembly, etc., this time, the project is organized into three different main modules: mockup();, testparts(); and print();, only one of which should be "run" for the approprate purpose. The three modules are not an efficient structure, component parts are repeated in the code three times, but, for me, it made this project easier to test and adjust. With the earlier train cars, the mockup code was reusable from project to project, but this freight wagon will be one time only, I think. Making an integrated mockup for the screenshot made sense.
Doing a test module allowed me to selectively print components as I made adjustments so the parts would actually all fit together, applying changes to the print module, as necessary.
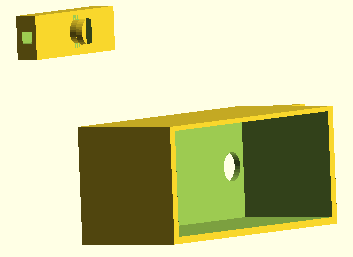
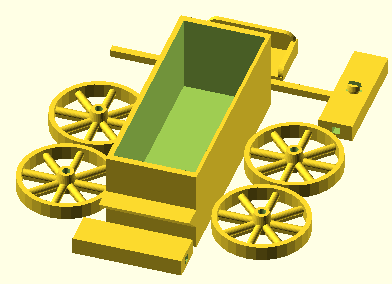 print view |
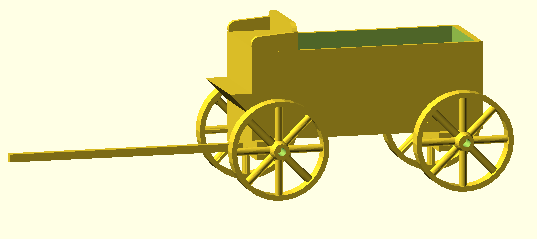
mockup view |
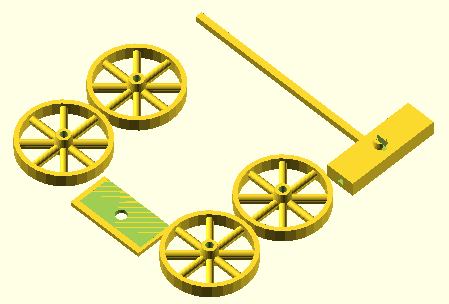 selective parts view |
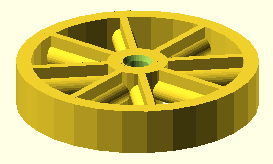
The wheel design is the most interesting module. There is rotate_extrude of a small rectangular square(size=[2,6],center=true); in order to make the wheel rim which is then combined with a for() loop to make the spokes. You should note that the spokes have an added cube on the bottom (as printed) to support the wheel during the print. When the wagon is assembled, the support will be facing the inside and won't be too obvious. Without support, a test version of the wheel printed with a lot of drooping filament strands.
module wheel(){
    rotate_extrude(convexity=10)
    translate([diam/2, 0, 0])
square(size=[2,6],center=true);
    // hub
    translate([0,0,-3])
    cylinder(3,4,4);
    cylinder(5,4,3);
    // spokes
    for(k=[0:45:360]){
        rotate([-90,0,k])
        cylinder(diam,1.5,1.5,center=true);
        // spoke print help
        translate([0,0,-2])
        rotate([0,0,k])
        cube([diam,1,2],center=true);
    }
}
// combine wheel components
module wheel2(){
difference(){
    wheel();
            translate([0,0,-3.1])
        cylinder(10,1.6,1.6);
        // flare the hole
        translate([0,0,-3.1])
        cylinder(1,2.3,1.6);
}
}
The wheels and crossbar are designed so I can use as short length of the 3mm raw filament as an axle to allow the wheels to roll. The front crossbar attaches to the bottom of the wagon with a flared peg like the one I designed for the workbench crank project. That lets the front wheel assembly rotate from side to side in a way similar to a real wagon.
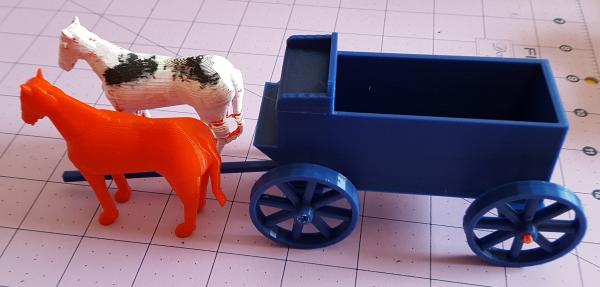
As it turns out, the wagon goes pretty well with the earlier horse project.
Available Files:
SCAD files for study/modification and STL files for quick prints
freightwagon01.scad - freightwagon01.stl - Now you can haul your other small projects around.GPL3 License