3D Central
Train Boxcar
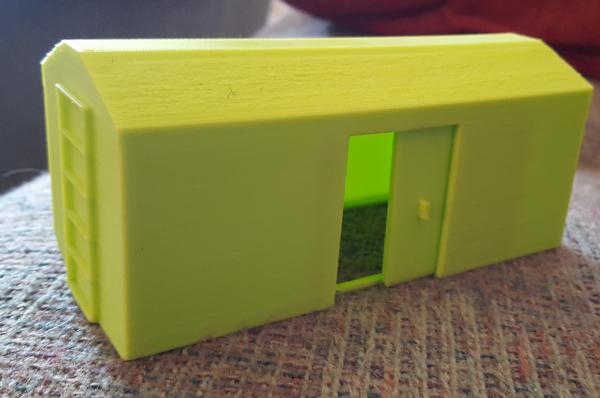
UPDATE: (2018-01-26) This file has been updated since the original post to add doors on each side which can slide open and closed.
General merchandise of all kinds traveled by rail from the factories where it was manufactured. Some of it was in barrels or crates, and some just needed protection from the weather. The trusty boxcar served the purpose either way.
In order to save filament, I did not make a solid rectangle cube for the box of the car. The sides and ends are mainly simple, 2mm thick cubes, sized to fit, but a four-sided polygon gets extruded 2mm to make the top part of each end. The rooftop is also an extruded polygon. The rooftop was extruded out to the length of the car. As designs go, it isn't too complex, but the one I've printed in green sits very nicely on its flatcar base. I was pleasantly surprised to find that this design did not require internal support. The diagonal of the roof was just steep enough to build up to the narrow top section of the roof polygon.
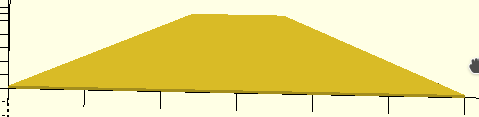
module endcap(){
linear_extrude(2)
polygon( points=[[0,0],[carwid,0],[carwid*.60,10.1],[carwid*.4,10.1]], paths=[[0,1,2,3,0]],convexity=10);
}
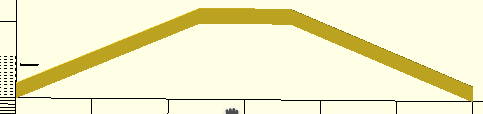
module roof(){
rotate([90,0,0])
linear_extrude(carlen)
polygon(points=[[0,0],[carwid*.4,10],[carwid*.6,10],[carwid,0],[carwid,2],[carwid*.6,12],[carwid*.4,12],[0,2]], path=[[0,5,4,3,2,1,0]],convexity=10);
translate([0,-carlen+2,0])
rotate([90,0,0])
endcap();
translate([0,0,0]) rotate([90,0,0]) endcap();
}
As before, version00 began as a hard-coded design, using number values for each part. Then I converted it to variables for version01. The theory is that you can just change the variable values (parameters) and make a version which is longer, narrower, and not so tall; or simply one which fits your printer's space better than my printer's space. Pay attention to consistency, especially be sure the gauge between wheels stays the same and matches your track.
Maybe the designs of other cars ahead of me will begin right out of the roundhouse by using variables. carwid, carlen, etc. are going to continue to be component dimensions for all cars which will sit on the flatcar base. Future car version00s may become a working model immediately.
In the next iteration, I'm going to see if I can add doors which actually slide open and closed. Check back if you don't make the modification yourself!
Version02 happened more quickly than I expected. When the update bug strikes, sometimes it is necessary to squash it right away. In this case, the additional work was adding a frame inside the boxcar and making a separate slab door which can slide up from the bottom before attaching the boxcar to the flatcar. It will mean applying glue carefully to avoid freezing the door open or closed.

Speaking of iteration, it is a term which is used when making a for() loop. For loop iteration is a quick way to step through making a repeating component. In this project, the ladder at each end is built from connected cubes making two side rails and a series of rungs spaced evenly the length of the ladder. There are only six rungs for the ladder, but you certainly can imagine situations where dozens of evenly spaced components are needed. You could make six rungs by hand, but dozens, well phooey to that!
module ladder(){
    cube([1.5,2,carht]); // ladder side
    // rungs "iterated"
    for(k=[0:10:carht]){
        translate([0,0,k])
        cube([21.5,2,1.5]);
    }
    // opposite ladder side
    translate([20,0,0])
    cube([1.5,2,carht]);
}
ladder();
Available Files:
SCAD files for study/modification and STL files for quick prints
boxcar01.scad - boxcar01.stl - doors are just depressions in sides.boxcar02.scad - boxcar02.stl - doors slide to open and close.
GPL3 License