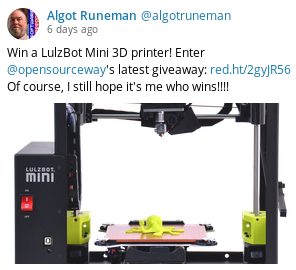
On December 1, 2016, I saw the announcement for a contest run by opensource.com for a Lulzbot Mini 3D printer. Why not, all it took to enter was a tweet, so off it went into the internet.
The contest concluded quickly and on December 6th, I got the email from Alex Sanchez announcing my unexpected good fortune.
Looks like you're our winner. Congratulations!
You may visualize my surprise. I've entered a few contests before, but never won a thing!
I've read about 3D printing because I'm interested in the Maker movement, but didn't expect I'd get the chance to own a 3D printer of my own any time soon. Because of winning the contest, it was time to really begin reading more than the reviews and specifications. I would need to have some skill with design software if I wanted to do more than download pre-made designs from sites like Thingiverse.com where there are over 600,000 designs ready to download and print.
I downloaded the open source printer control program, Cura, from the Lulzbot site. It has been specifically modified by Lulzbot programmers to drive their printers to peak performance but remains fully open source.
There's a Cura version prepared and tested for Debian, Fedora and Ubuntu (including my favored Kubuntu destop). There are also installers for Windows and MacOS to support those who are still on their way to embracing Software Freedom.
I chose OpenSCAD from the list of design software that Lulzbot recommended and began practicing making cubes, cylinders, and other basic 3D shapes, eventually learning how they could be stacked one on top of the other to make interesting things.
Word came that the printer was scheduled to arrive by December 15th, and it immediately became possible to think about actually making some Christmas presents with the printer.
It was a very busy week of reading, programming, more reading, more programming, more reading...good thing I'm retired.
Searching for 3D information on the internet is going to yield a vast number of results. Follow your interests. Read a lot. Join a local makerspace, if you can. Check to find out if your local library has demos or classes, too. Libraries are quickly becoming maker hubs.
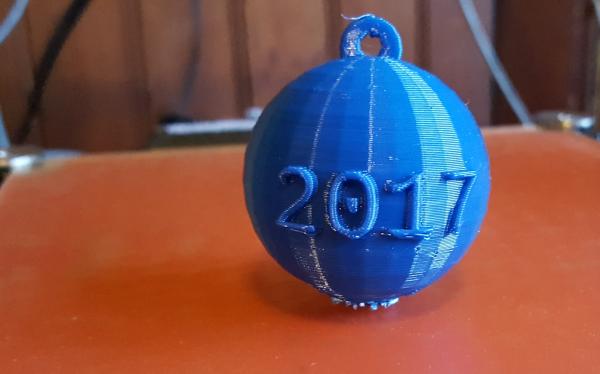
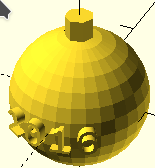
My goal was to focus on making a few projects of my own before digging through the volume of "3D things" online. Because of the season, it struck me that an ornament to hang on the tree would be a cool project. I read through the OpenSCAD Cheatsheet to learn how to make a sphere and a top cylinder for a hanger. The cheatsheet has links to the online manual for each command option, very convenient!
Text on OpenSCAD from Brody Kendrick is a module for OpenSCAD which adds easy ability to put text on things like a sphere instead of just a flat surface. That gave me a "first design" to try after the recommended rocktopus which is preinstalled in the Cura program found on the USB stick delivered by Lulzbot along with all the incidental tools like a tweezers for clearing stray wisps of extruded filament and the sharp knife used to remove finished objects from the heated platform.
I'm ready.
The printer came early in the morning on the 15th. The included quickstart manual made it super-easy to prep the printer and use the couple of meters of yellow PLA, the filament recommended to beginners...that's me!
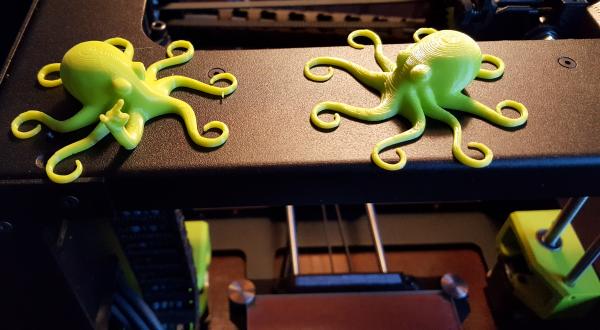
The Lulzbot Mini is pre-set to print a cute octopus character in order to show how the process works, as described in the startup booklet.
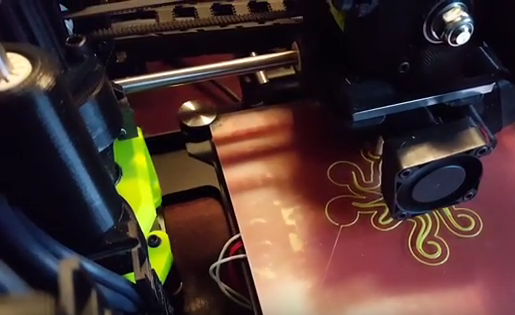
The cute rocktopus on the right is the one they print as a final test of each printer before packing it to ship. The one on the left is the completed test print. This happy couple will watch as I move ahead.
As an unannounced extra, Lulzbot even sent along a full kilogram reel of blue PLA.
3D printing is seen by most as a prototyping system rather than a full-scale production system for finished products. Prototyping involves making (many) mistakes and learning from them. I did learn that right away with the ornament. I didn't initially provide for enough base support for the sphere. It tipped over after about ten layers. I was, of course, right there staring at the printer, so I saw it happen and canceled the print. I read up on the problem and retried with the Cura option to make a wide support base before beginning the actual ornament sphere. It worked great the second try, except the sphere was very small. We would need a mini tree on which to display it.
But the ornament also took a fairly long time to print, so a quicker project seemed sensible to complete for everyone on my list before Christmas.
Inkscape is normally a 2D tool, and I love it, using it every day for years. It isn't natively for 3D, but Dan Newman, a very talented programmer, has written an extension for Inkscape called Inkscape to OpenSCAD which I installed. It lets me create extrudable shapes in Inkscape before exporting them and opening them in OpenSCAD for final adjustments. Adding Dan Newman's extension code provides a way to capitalize on skills already in hand. It is part of the open source way to stand on the shoulders of others.
I now had an easy-to-make extrusion process for each keychain. Each keychain design would print in about 15 minutes. That would make trial and error practical. In addition, the finished keychains, (all in beautiful blue PLA) would be ready to wrap!
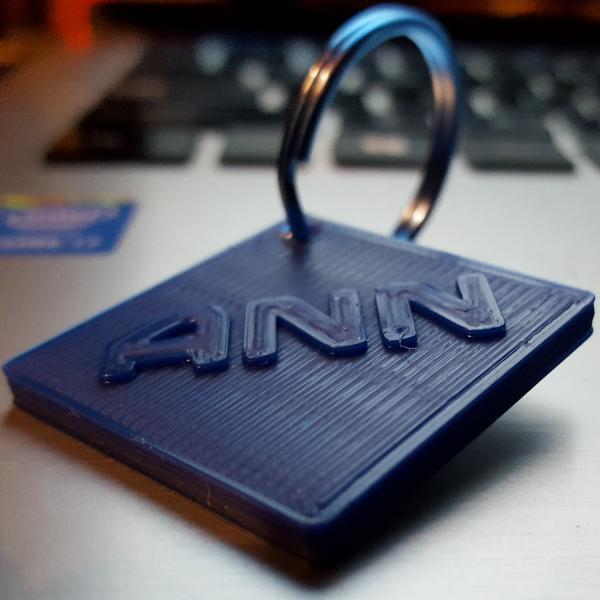
Making one of these for everyone on my list was just right (with a different name on each, of course). OpenSCAD even has the "difference()" command which made the hole for the keyring easy (no drilling needed).
OpenSCAD is not a GUI program. Instead, it works like a programming language with commands to generate the shapes you want. I've worked some with JavaScript and Python which made OpenSCAD quickly accessible. It is going to take a lot more time and practice to advance to making really complex things. However, I did give myself a challenge.
My son suggested a chess set would be a cool project. Because I am retired, there was maybe, just barely, time, but I warned everyone that there would not be a completed chess set wrapped as a present.
Built up in segments, this was my first plan for a chess pawn.
Steps:
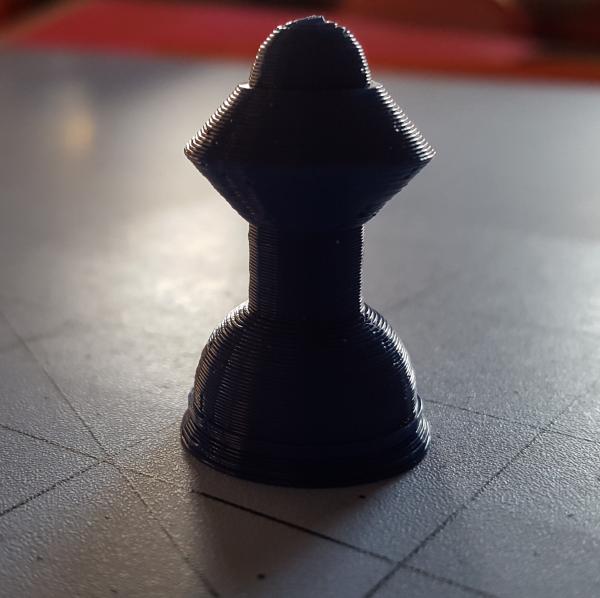
Over the remaining days before Christmas, I modified the basic pawn to ease the union of the two cones so they met in a short vertical cylinder. The original design was a bit sharp to pick up. Next came the rook (castle). The rook should look somewhat like the pawn so it would be a "set" and the big change was the top, a battlement. The first version began with a smooth battlement. It was only later, after working on the queen's crown that the rook changed to have the gaps of crenelation along the top edge of the battlement.
Though each piece was going to be based on a consistent "shape", each new piece took me further into making the shapes possible in OpenSCAD. Moving ahead also involved learning about how to do rotations and translations and accepting that there were compromises because of gaps in my skills. The current version of the chess piece code isn't pretty. It is very linear and only some later pieces begin to use variables instead of hard-coded numbers. Still I hope the results aren't horrible.
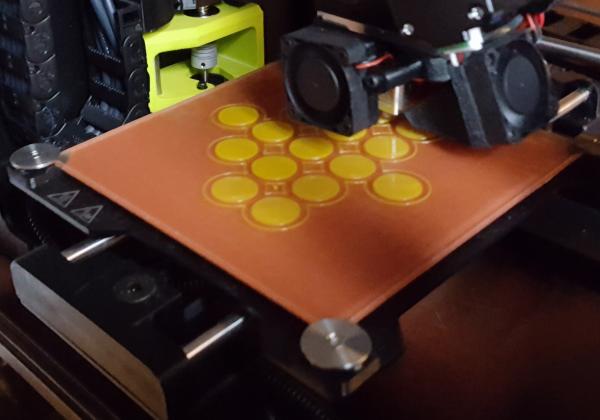
By the end of the week, I'd printed a full blue set, one or two pieces at a time, and ordered some other colors of PLA which came just in time to make the final "test" of the printer on Christmas Eve. The test was printing a full set of 16 pieces all at once in the yellow PLA. Changing filament colors is totally straightforward and is described clearly in the beginning manual.
Printing the entire yellow set at once worked perfectly and took under five hours, including the warmup, self-leveling process and automated cooldown sequence. This combination print demonstrates that open source Cura control software and the Lulzbot Mini printer is not limited to one object at a time or just short-run projects. The printer is a top-quality product, ready to go out of the box. It is also open hardware and supports a full open source programming chain.

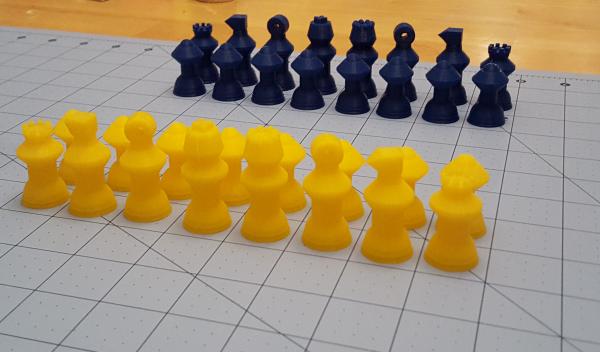
When my son saw the photo, he commented that the color choices were just right, considering our family's Swedish background. Blue and yellow are the colors of the Swedish flag.
The part of the printing process using Cura (which is a GUI program) is very simple. Coding a new design is what takes time unless you've decided to start with downloading designs by other people. Once you get the final code output loaded into Cura, it's really just a simple click of a couple of on-screen buttons to start the print, and the Lulzbot Mini whirs, hums and buzzes through its paces like a charm.
Opensource.com and Lulzbot have given me a new hobby, and I'm planning to make the most of it. Going forward, I'll post my designs and notes to a 3D thing repository.
Is Thingiverse the best choice?
I look forward to all the new stuff to learn and the fun of making 3D things and will appreciate all the suggestions you other 3D printer owners can give me.
On to 2017, a year in 3D.